Here you can see the rice bran in a bag made of part of a knee-high nylon.
At this point, it is not round at all.
I take a handful of plastic bags:
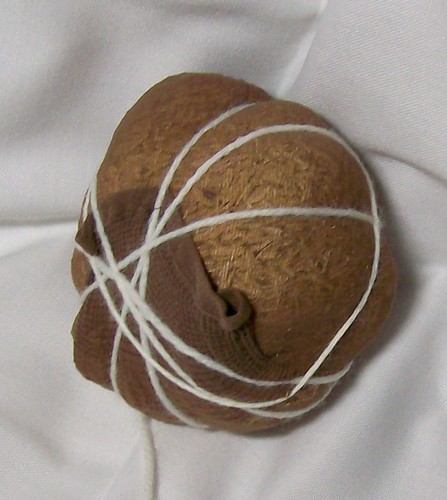
The second layer is yarn.
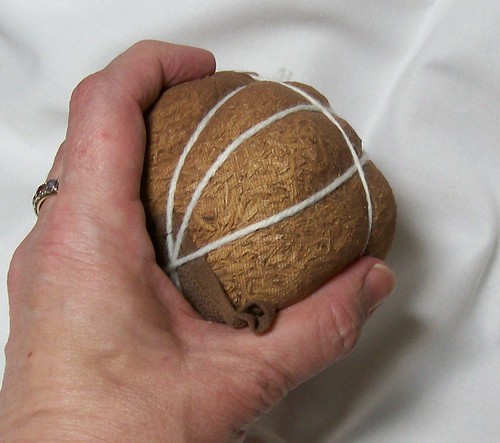
Wrapping the plastic bags:
As you wrap, press in on the areas that are bulging, and it will start to get round. The yarn wrap is done with very light tension, to build up a layer on the ball for the stitching to go into. Turn the ball constantly as you are wrapping, and try to always place the yarn/thread over the center of the ball.
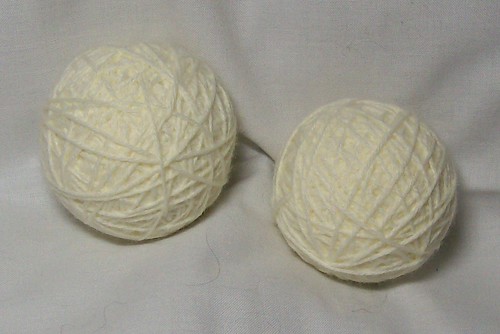
When the yarn wrapping is done, the only way to tell them apart is by squeezing:
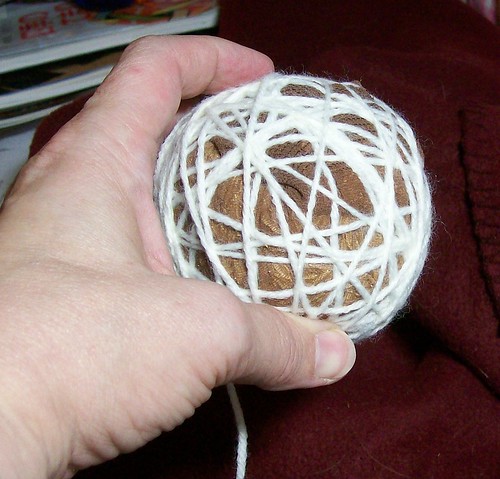
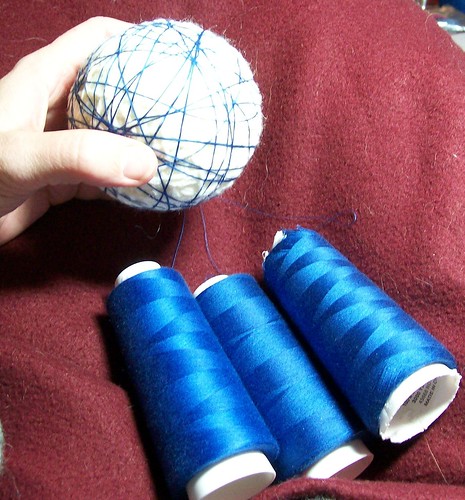
The third layer is several strands of thread held together.
Here you can see the surface after this step. The three strands look a little like ribbon. Continue wrapping randomly, each wrap over the center/thickest part of the ball. Roll your ball between your hands, or on a hard surface like a table or the wall to encourage roundness.

The fourth layer is a single strand of sewing thread. This is the layer that is easiest to skimp on. Some times I like to make the middle layer out of different color threads so I can tell how thick the outer layer is, and make sure it completely covers the previous layer. This is the layer you stitch on. It should be wound the tightest, and the tail gets stitched into it, all over the surface in a type of herringbone stitch, securing the threads from slipping.
Each layer is dense enough so you cannot see the underlying material underneath. The thread and yarn can be anything inexpensive.
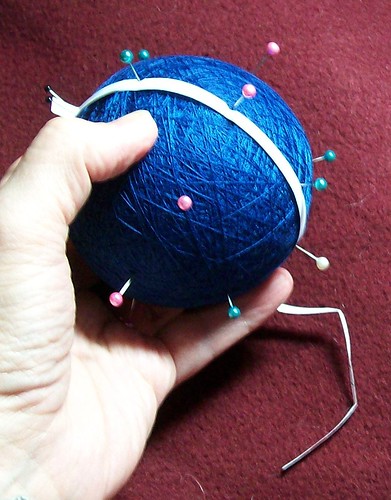
You stick a pin anywhere in the ball, and that becomes your north pole. I usually use a black pin for the north pole.
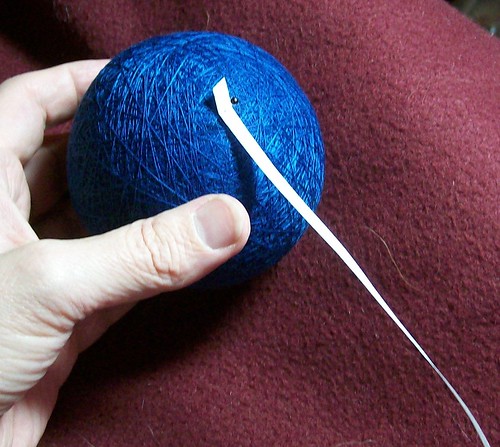
You use a strip of paper to measure the circumference, checking several times to ensure accuracy.
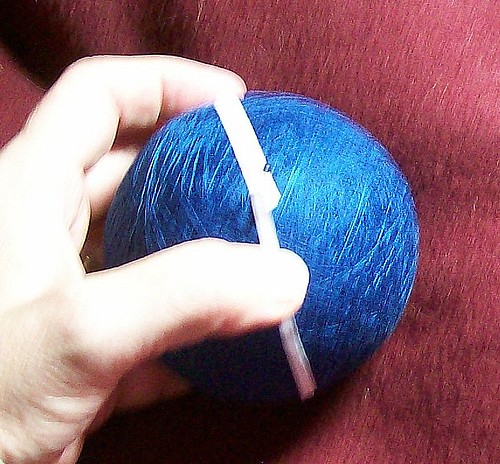
Fold your strip in half, and cut a notch to mark the south pole. I usually use a white pin for the south pole.
Again check several times to make sure of your accuracy. If you are having trouble after checking 3 or 4 times, that is a good hint your ball is not round.
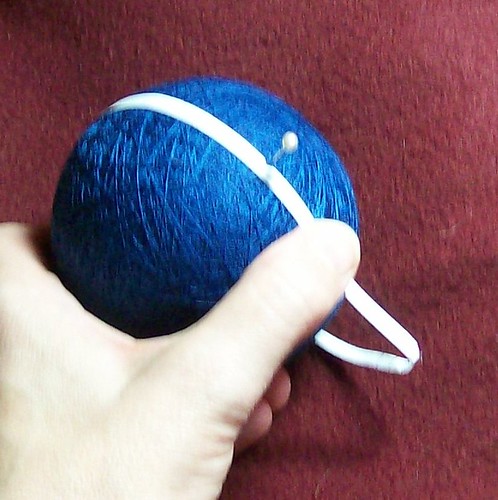
You also use that strip of paper, folded in quarters and eighths to find the "equator" and other needed points on the ball.
This ball is divided for a c8, and is ready to be marked. In this example the pink pins mark the equator and the turquoise pins mark the location of the diagonal dividing bands. If you are interested, I can continue showing how the c8 is marked.
There are many sites that explain how to make Temari, and many of them have free patterns. This one is my favorite: http://www.temarikai.com/ If you are looking for a book, for introductory patterns I recommend Barb Suess' book Japanese Temari.


5 comments:
This is really wonderful. Very clear. Where do you purchase rice bran? Marjorie
Please show how to measure and mark C8. I really want to try that.
I had no idea how you started one of these projects, so I really enjoyed your post today. Fascinating!!
Thank you so much for sharing the process of getting the temari started. I've been wanting to try temari and the photos and explanations were so helpful!
Hi Jane! I hope you can read this. Am from Argentina and just saw your post on making the temari. Would like to know what kind of yarn do you use when you start making the ball. Thank you for sharing!!! Adelia
Post a Comment